The wonder of homemade sourdough bread

For the last few weeks I’ve been very busy, diligently feeding my new friend. He’s a little jar of flour, water, yeast and gas, and he’s been growing bigger and stronger every day with each feed. He’s a natural sourdough starter – and he’s my very own, unique to me and my kitchen (and my kitchen’s wild yeasts). He eats a mix of rye and wheat flour (though he really prefers just rye, if he’s allowed it), and he drinks filtered room-temperature water. I guess you could call him rather particular in his tastes, but I indulge him anyway.

Last week I took out a little piece of my new friend and I carefully feed and grew that piece into a foamy, sweet smelling sponge. No doubt about it, making sourdough from scratch is a labour of love. It’s not particularly labour intensive, but there are little tasks that need to be completed as part of a strict schedule over a period of days, and it takes a looooooooong time (roughly three days from start to finish for proving, shaping and baking a loaf, and the starter itself takes around 7-10 days to reach ‘bakeability’ – that’s a word, right??!) but you just have to be patient. You can’t rush it. Believe me – I tried to rush it, and the flat, pancake of a loaf I ended up with made me realise it wasn’t worth hurrying the process.

Luckily, if you don’t rush it, the results can be quite astounding, and more than worth the effort.

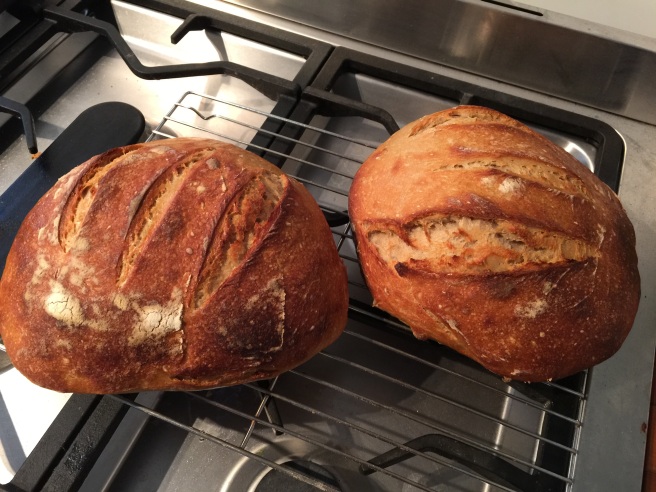
Sourdour bread


I followed the very visual and detailed instructions on the amazing FoodTravelThought blog – I highly recommend this blog for some light reading if you’re thinking about having a go yourself, the pictures will have you salivating. I also watched a few YouTube videos to try and master the very strange stretching technique employed with Sourdough to strengthen the gluten in the dough – as opposed to more traditional kneading. I also watched a few videos on how to shape the dough into the traditional ‘boule’ shape… which I have by no means mastered yet!!

The cooking of Sourdough is a bit different from regular bread too, it’s very hot and quite long, but that’s how you get those extra crunchy little burnt bits on the top. I had to ignore all my instincts telling me that the bread was burning, in order to leave it in the oven for the full cooking time. But the loaf I made where I actually followed the instructions and timings to the letter was so much better than my first attempt were I fudged, changed and tried to speed things up, that I am now a convert to following the detailed process carefully – those instructions are there for a REASON. Even harder than the long cooking time, was the long waiting to cool time – ONE HOUR! It’s almost a form of torture to see that gorgeous loaf lying there on the bench, the smell wafting gently through the house, and knowing you have another 35 minutes to wait till eating time… believe me, I’ve been there.

And just to really get your mouth watering… I’ve just had a thick slice of my wonderful sourdough bread with lashings of smoked aubergine hummus (homemade of course!) and it was truly a revelation. This is eating! I’m not sure I could ever eat store made ‘sour dough’ again after having the real thing.

Homemade dolmas and a chilli cauli side dish

Have you ever tried dolmas (dolmades) before? They’re the stuffed grape vine leaves that you normally get in a tin, and they originate from the large area in the Middle East that borders the Mediterranean sea. Anyway… they’re pretty damn delicious (if not a little greasy), or at least that’s what I thought before I tried making them myself.
Let me just start by saying that as much as I love to try and make things myself where possible, I am fully aware that some things are just better when they are prepared commercially (puff pastry comes to mind), while some fiddly, time-consuming things just aren’t worth the hassle of making yourself (stuffed pasta is almost there… but not quite – depending on the filling). Dolmas DO NOT fall into either of these categories!! Homemade dolma are a revelation: the taste, texture and overall amazingness of them has no comparison.
image
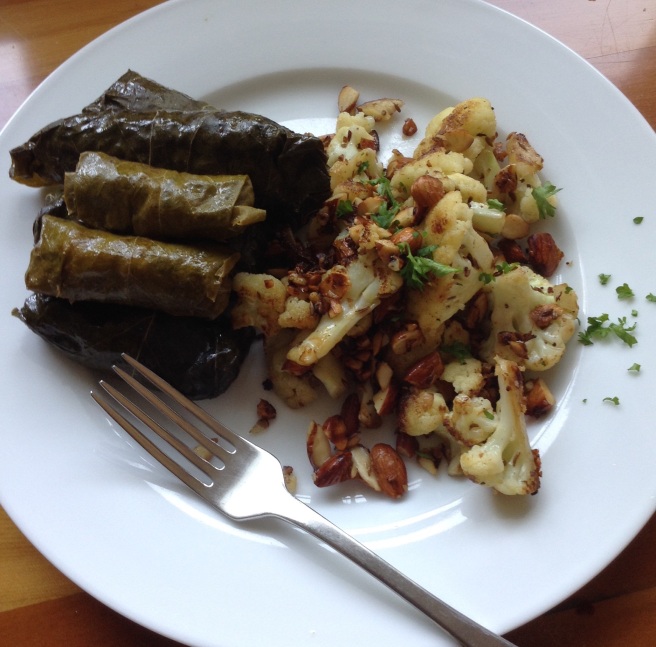
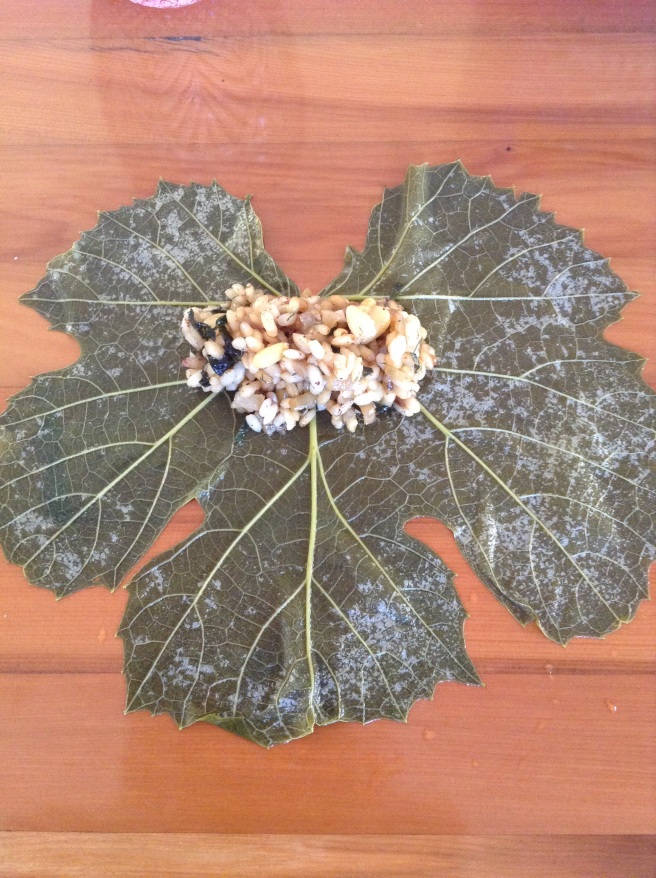
I used this recipe from the Kitchn website as a guide, and substituted or omitted depending on what I had in the cupboard. Thankfully I was able to hunt down some lovely fresh vine leaves (the owners of the grape vine will never miss a few leaves, right?!)… And I think these were a major factor in the difference in flavour and texture. I also referred to my favourite Greek cookbook for the cooking method. The wonderful Maria Benardis recommends steaming the dolma on a layer of finely cut potato to stop the leaves from sticking to the base of the pot if the cooking water runs out – this is pure genius!! Don’t you just love handy, sensible little tips like that? Not to mention, the potato was perfectly steamed and flavored by the end of the cooking process – just perfect for snacking on while waiting for the dolma to cool.
image
I served my dolma with a very tasty and easy cauliflower recipe from Alice Hart’s Vegetarian book. Not because I particularly like cauliflower with dolma, nor is it a traditional pairing (as far as I know), but I just happened to have one in the fridge.

Charred cauliflower with almonds and chilli

1 cauliflower (cut into smallish florets)
1 red chilli (depending on how much you like hot food you might like to remove the seeds)
100gm almonds (chopped)
1 1/2 tsp cumin seeds
2 cloves garlic (sliced thinly)
3 tbsp olive oil
Salt and pepper to taste
Heat the oil in a fry pan and fry the cauliflower for 5 minutes or so until you get some nicely charred edges. Turn the heat down to low, cover the pan, and cook for two minutes. Now add the chilli, almonds, cumin seeds and garlic and turn the heat up to medium. Cook for another 5 minutes stirring every now and then. Take off the heat and season with salt and pepper, and garnish with chopped parsley.

Hello 2015!

Happy New Year blog readers! I’m pretty excited to be starting a new year, it always seems like an opportunity to try something I haven’t done before… And – cue drum roll – that’s why this month I’m trying veganism. I know, I know, it’s kind of left field, but please bare with me – it’s just for the month of January.

I happened across the idea on the Cate in the Kitchen blog. It’s called ‘Veganuary’ and its a bit of a challenge and a way to raise awareness about the benefits of a vegan diet for personal health and for the wider environment. After three weeks of Christmas excess and overindulgence a little ‘considered’ eating seems like a very positive thing.

It’s only day three for me, but so far I’ve already tried making a few new things (socca, vegan carrot scones) and have tried (and eaten all of) something I’ve never really liked in the past (eggplant). So while I don’t think I’d choose to be a vegan permanently, I really like the way it’s challenging me to eat differently. I’ve also had more opportunities to eat fresh food from the garden, having a way to use up our current glut of kale and carrots is a bonus!!

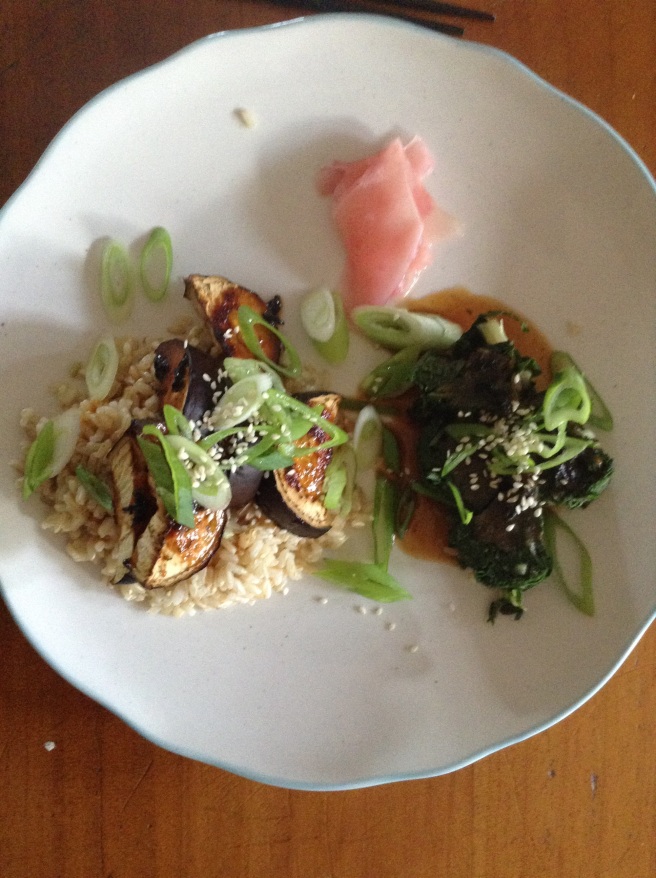
This was last night’s dinner – Japanese Miso grilled eggplant on brown rice… Yum, so good!

Miso eggplant


A grand total of three summery Christmas desserts

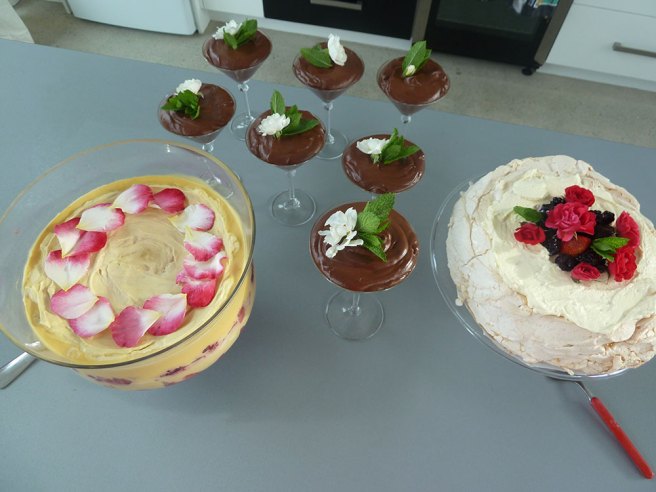
I think we exceeded all expectation this year… not only did we have THREE desserts on Christmas day, they were all totally gorgeous!

trifle, mousse, pavlova


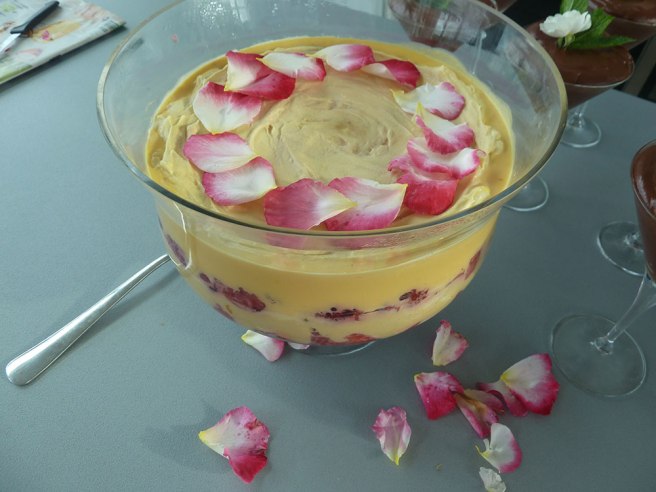
First up was a Summery Berry Trifle: made with layers of homemade Lemon Sponge, homemade custard flavored with brandy, orange and cinnamon, and plenty of berries sloshing around in Cointreau.

trifle, berries


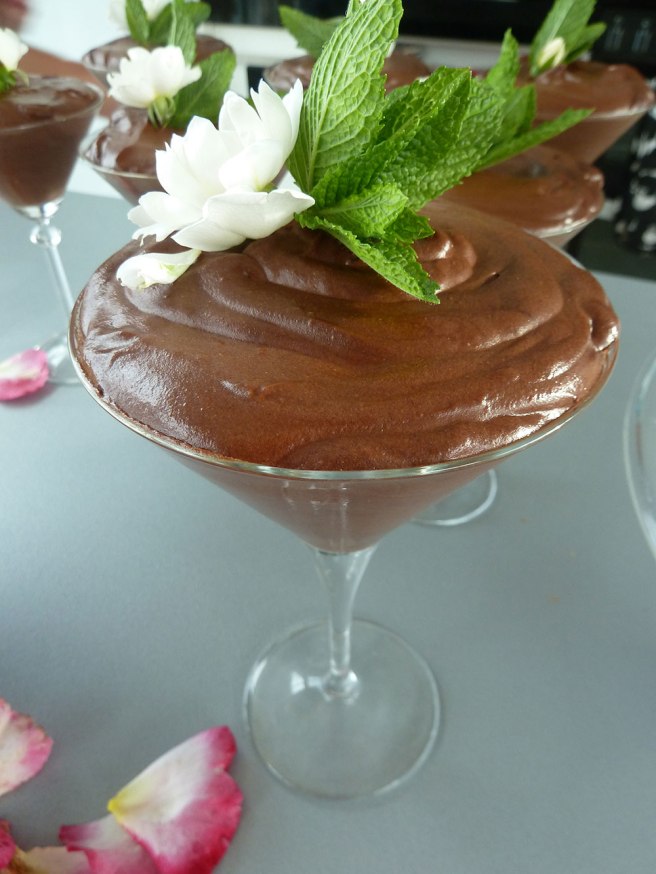
Next were the individual chocolate mousse: two separate layers of mousse, the first flavored with Frangelico (the hazelnut liqueur), the second flavored with espresso coffee.

chocolate mousse


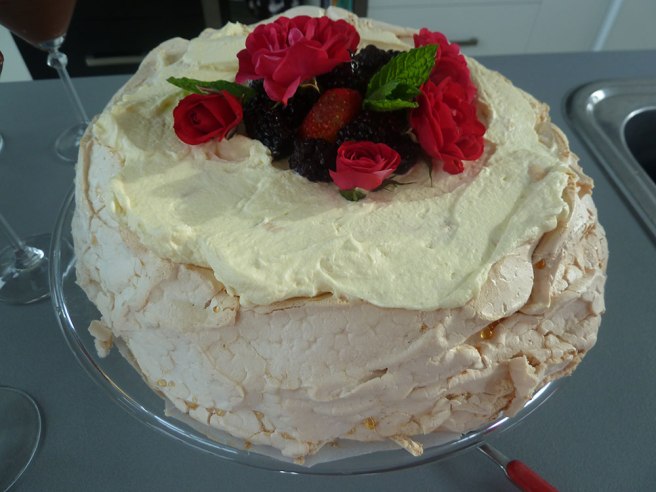
And last, but not least, the quintessential New Zealand dessert, the Pavlova! I’m not really a fan myself, but with so many egg whites left over from making the custard it seemed like the logical choice… and a popular one too.

pavlova


What did you enjoy eating most on Christmas Day at your place?

A very berry Christmassy jam

Here in New Zealand Christmas is all about strawberries! To my Southern hemisphere mind, Christmas would just not be Christmas without a great big helping of strawberries on Christmas morning (some chocolate dipped, of course) and a strawberry-related dessert of some description. Now I understand this may seem like a very foreign concept to Northern hemisphere readers, whose minds must be about as far away from strawberries as possible, but please… let your mind wander.

We are a little bit spoiled here in New Zealand, we get to pilfer all the lovely wintery Christmas traditions of our English forebears, while making our own new summery traditions to enjoy at the very same time – the best of both worlds! But with enjoying fleeting traditions that come to an end all too soon, comes the need to stretch those enjoyable things out for just a little bit longer, if at all possible. This is when my mind turns to jam: strawberry, apricot and plum, they are all a jar of summer, sitting there on the shelf just waiting for the time they are taken down in winter, opened and enjoyed. For a moment, it’s like summer all over again.

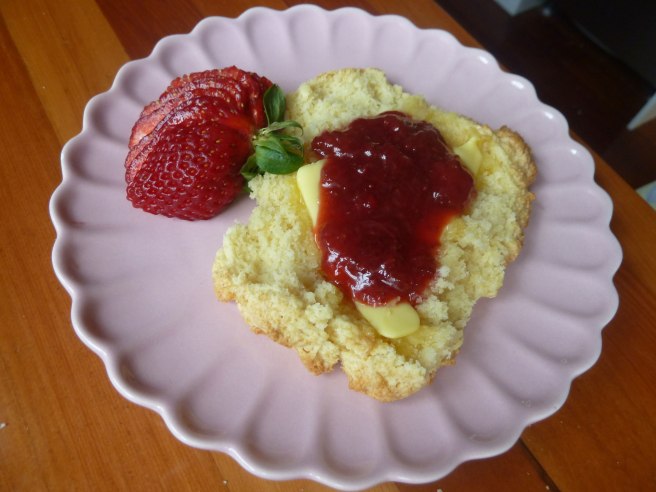
Each December I make this much loved recipe for Strawberry and Vanilla Jam. It’s one from my Victoria Room cookbook. For those not familiar with Sydney’s astoundingly fabulous Victoria Room… let me just say, if you’re a fan of Victoriana like me, this is a must visit!! And strawberry jam with scones really doesn’t have a rival…

Strawberry and vanilla jam

For the jam:

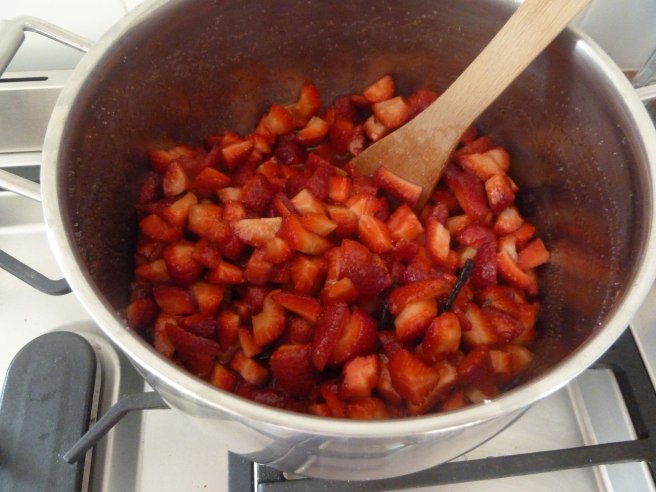
2 kg strawberries, washed, hulled and chopped
650gm caster sugar
1 vanilla bean pod, split
Juice of 4 lemons

Strawberry jam
All chopped up and ready to go!

Add all the ingredients to a pot with a heavy base, and gently begin to heat, stirring constantly, until the sugar has all dissolved. Then turn the heat up until the mixture is boiling. You want the jam to be on a ‘gentle boil’ if such a thing exists… still boiling, but not quite so fiercely that the bottom burns. Stir regularly while you prepare your jars (you’ll need to sterilise them). The mixture takes around 30-40 minutes to reach setting point (because strawberries are not particularly high in pectin you won’t get a super strong set with this jam – but the lemons do help to add to the pectin content), keep checking until you reach your desired consistency. While the jam is still hot divide it up between your jars (this recipe makes about 5 standard jars). If you get a good seal it will last for months!

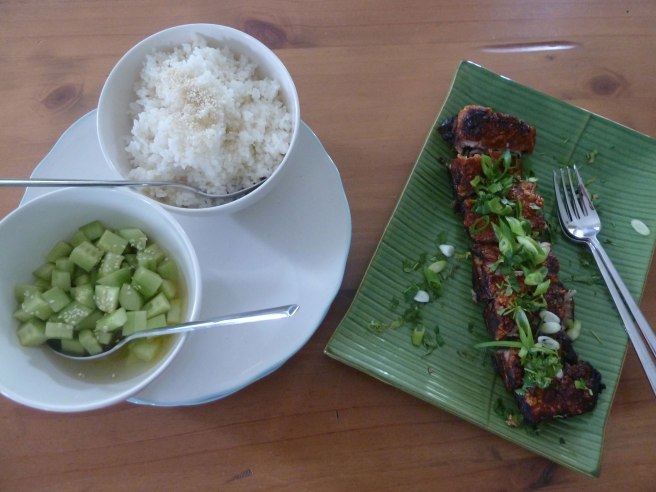
Chinese roasted pork belly with quick-pickled cucumber

I recently picked up a bargain basement-priced copy of The Great New Zealand Cookbook (cracked spine – their loss, my stomach’s gain!). This little gem of a book has recipes from well known NZ cooks, chefs and bakers, and it’s pretty damn cool. Lovely photography, and a really great range of recipes.

This meal is the second time I’ve used the book, so it’s probably already paid for itself in intellectual property – or however it is that cookbooks pay for themselves.

So… onto the important part. This easy and tasty recipe is from Anthony Hoy Fong, and is essentially Chinese in origin, with a little NZ twist. The pork belly would be lovely on its own, but being a little bit greasy (as pork belly tends to be) the vinegary, fresh cucumber is the perfect accompaniment! And is often the case with a really good accompaniment, the flavors and textures all balance each other out perfectly.

Chinese pork belly

For the pork:

1.5kg boneless pork belly
1 tsp Manuka honey
1 tsp sugar
3 cloves garlic, crushed
3 tbsp hoisin sauce
1 tbsp soy sauce
1 tbsp salt, and more for rubbing
1/2 tsp five-spice powder
1 tbsp vegetable oil
Fresh coriander and spring onions for garnishing

Score the pork flesh (to allow the marinade to penetrate the meat), then place on a rack in a clean sink and pour boiling water over both sides of the meat 2-3 times to tighten the skin. Pat dry with paper towels and place in a roasting pan.

Combine marinade ingredients and rub all over meat side, getting it deep into the scores. If you get any on the skin wipe it off with a paper towel (or it will stop the skin from crackling).

With skin side up, rub salt and oil over the skin and place in the fridge to marinate for at least 2-3 hours.

Pre-heat oven to 240c, place pork in the centre and cook for 20 minutes. Turn oven down to 160c, and place 2 cups of water in the pan. Cook for one and a half hours. Finish under the grill for 3-4 minutes until skin is dark and crackly. Remove from the oven and leave to rest for 15 minutes.

Roasted pork belly

For cucumber:

1 large cucumber
2 1/2 tbsp rice vinegar
2 tbsp water
1 tbsp sugar
1 tbsp toasted sesame oil
1 tsp salt
1 medium red chilli, finely sliced

Peel the cucumber, remove seeds, then roughly dice. Combine the pickling ingredients in a bowl, then pour over the cucumber and toss. Cover with plastic wrap and refrigerate for 30 minutes before serving with the pork.

To serve

Cut the pork into strips, or bite sized pieces. Garnish with coriander and sliced spring onion. Serve with the cucumber, and some steamed rice.

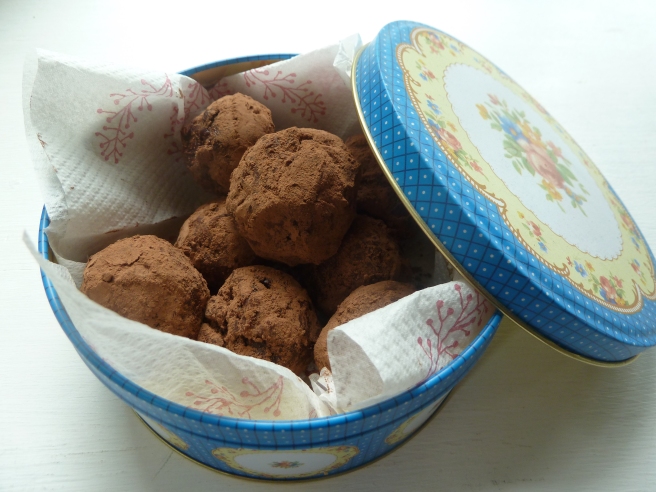
Christmas chocolate truffles – two ways

I just love Christmas. Basically, it’s a great big excuse to bake and make all the things I love to eat, but don’t normally allow myself to have. But when Christmas rolls around there is NO holding me back – I am going to indulge!!

Normally I make the Christmas Pudding truffles that Nigella Lawson calls Puddini Bonbons, and they are lovely, in fact they are just about the only way you are ever going to get me eating Christmas pudding (I despise dried fruit… but don’t get me started on that!).

This year however, I’m kindly giving Gordon Ramsey a turn. I took his Chocolate Mint Truffle recipe and divided it up into two basic recipes – a mint version, and an orange, brandy and pecan version.

chocolate mint truffles
My truffle tin runeth over… thanks Gordon!


The truffles get their flavour from steeping fresh mint in gently heated cream. I did the same for the orange version by adding orange zest to the cream and gently heating it. Once the flavoured cream was hot (but nowhere near boiling) I poured it over chopped chocolate, butter and honey. For the orange version I also added brandy and chopped pecans.

Once the chocolate, butter and honey have melted into the cream, the whole lovely smooth dark mess goes into the fridge to firm up. It took about two hours before the mixture was firm enough to roll into little balls. Then I rolled the balls in good quality dutch-processed cocoa, and voila – these little balls of deliciousness are ready for eating!

Helpful Mr Ramsey suggests keeping the truffles in the fridge and warns they won’t keep longer than a few days… but with me around, slyly popping one into my mouth each time I pass by the fridge, I don’t think that’s going to be a problem.

Christmas peppermint brownie

I wanted to try baking something a little festive today, and had seen some really lovely pictures on Pinterest of Peppermint Brownie. So after a bit of searching, I came across this lovely recipe from The Galley Gourmet that had three layers: the brownie (flavoured with peppermint), as well as the white peppermint icing, AND the chocolate peppermint topping decorated with crushed candy canes. Some recipes I saw left out the white peppermint icing – but what’s the point?! You might as well go all out if you’re going to bother.

Peppermint brownie
It turned out pretty well. It’s nice and easy to slice, and the soft fudgy texture of the brownie combined with the crunchy chocolate topping is totally delicious. It would be great for children’s Christmas parties, or any one’s party for that matter!

The 80’s called… it wants its entree back!

Last night was a special occasion here in our house, so to celebrate I stuffed eggs! Yes, that’s right. We really know how to party.

My husband has a particular (peculiar) love of very retro food. Custard squares, asparagus rolls, club sandwiches… all the sort of stuff you’d find in what I call an ‘old lady tea room’. You know the kind of place – sausage rolls, shabby decor with plenty of crocheted doilies, tea by the gallon.

But there’s something quite comforting about food that’s gone out of fashion. It’s the kind of food you ate growing up, seeing it again takes you back in time to when you were young and carefree… who wouldn’t want to feel like that? Stuffed eggs just scream fancy 80’s dinner party to me – I’m not entirely sure if that’s what smart and cultured people were eating back then, but if my old cookbooks are anything to go by, it was probably on menus everywhere.

P1020487

To make my eggs, I hard boiled them then ever so carefully shelled them. I didn’t know this for a very long time, but ever since we’ve had chickens (and fresh eggs) and I hard boil their eggs I’ve noticed it’s particularly hard to peel fresh eggs, the whites just don’t hold together. The older the eggs are, the easier they are to peel – the shells just come right off. Which is kind of funny… because for many years I’ve discarded eggs that were really hard to peel, thinking they were old! PRO TIP

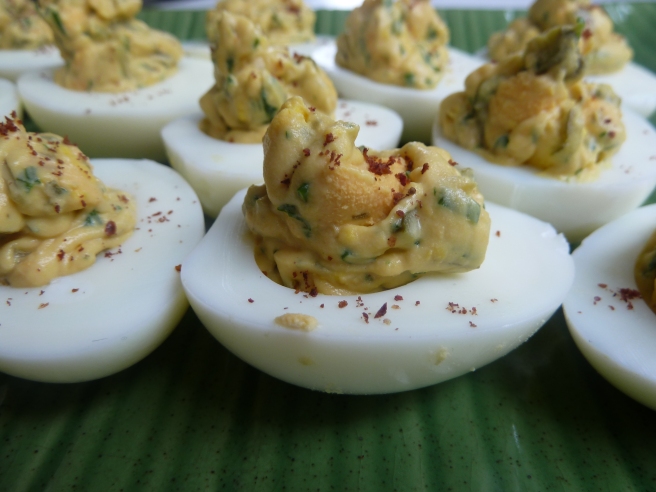
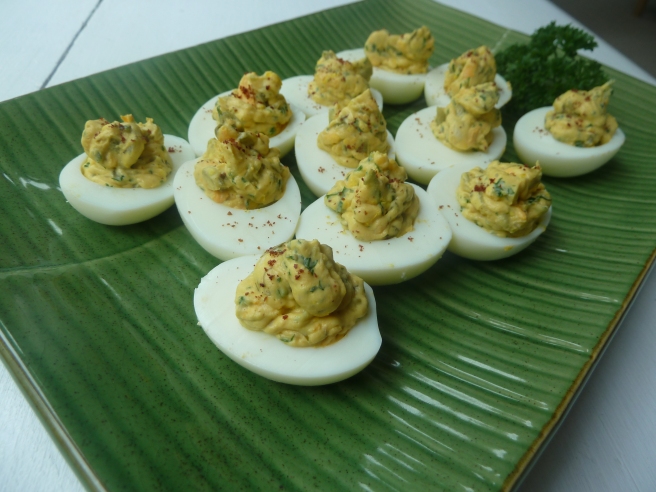
I halved the eggs, scooped out the middle and mashed the cooked yolk with diced cornichons, capers, some chopped parsley and chives, and a few tablespoons of good mayonnaise, a dash of white wine vinegar, and a half teaspoon of mustard. And a pinch of salt, and plenty of fresh black ground pepper.

I would have piped the egg mix back into the whites with a fancy nozzle (just like they would have in the 80s) but I hadn’t chopped the cornichons up quite as finely as I should have – they would have blocked the nozzle. So I just stuck it all into a small zip lock plastic bag, with a corner cut off, and piped it back in that way. Not quite as pretty, but still good!

P1020485A little dust of sumac on the top, and they were ready to eat! And as an endorsement of just how good they tasted… my daughter, who normally runs away at the sight and smell of egg, happily polished off three of them.